Coaster Favours: DIY Wedding Wednesday
Happy Wednesday! Time to make it over the hump! Are you ready for another DIY Wedding Wednesday?
Studying origami has been a lot of fun… trying to perfect the art so I can make some great items for our new Wedding Affiliates Store. While some things are more easy to buy others can be done at home, in advance of your wedding for just a pretty penny! The perfect DIY wedding project is one that can be done over time well in advanced, easily stored, and of course fun without added stress.
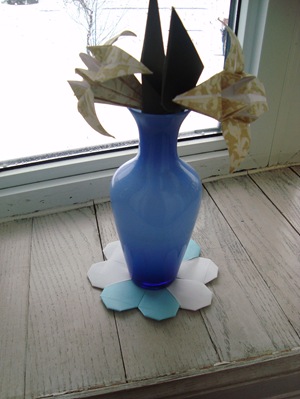
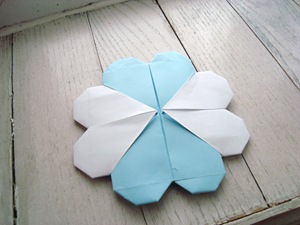
These coasters (or doily like centrepiece bottoms) are a great gift for your guests. Once you have perfected the fold using regular print paper you can use a fancier cardstock or better yet a paper-backed foil (or a water proof paper) so it can be used as an actual coaster. You can use any patterned or solid coloured paper preferably in 2 different colours or patterns in the same colour to get a beautiful effect.
What you will need:
Studying origami has been a lot of fun… trying to perfect the art so I can make some great items for our new Wedding Affiliates Store. While some things are more easy to buy others can be done at home, in advance of your wedding for just a pretty penny! The perfect DIY wedding project is one that can be done over time well in advanced, easily stored, and of course fun without added stress.

These coasters (or doily like centrepiece bottoms) are a great gift for your guests. Once you have perfected the fold using regular print paper you can use a fancier cardstock or better yet a paper-backed foil (or a water proof paper) so it can be used as an actual coaster. You can use any patterned or solid coloured paper preferably in 2 different colours or patterns in the same colour to get a beautiful effect.
What you will need:
- 2 Square piece of paper (or rectangular paper made into a squares)
- Ruler
- A good sized work space
Let’s get started:
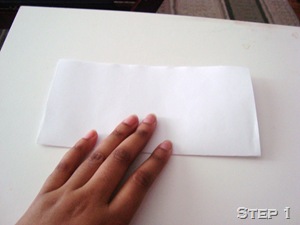
Fold the square in half from top to bottom to make centre crease line.
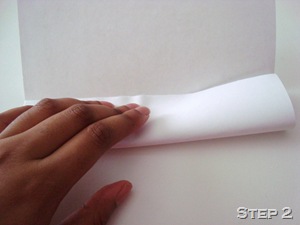
Fold the bottom horizontal edge towards the centre crease line.
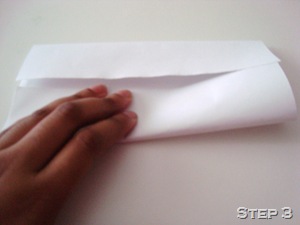
Swing paper around and repeat step 2.
Flip paper over to other side. Fold corner towards centre line to make a triangle.
Repeat on the other corner.
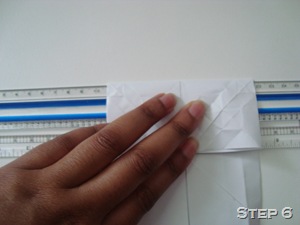
Open your corner folds. Line up the ruler with the outer edge tops of the corner triangles you just made. Fold the paper over the ruler to make a crease.
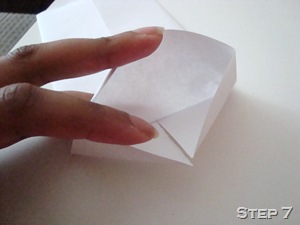
Now slightly lift the rectangle you just created. Open the inside like in pic up above.
Push one side of the outer edge (that’s lifted and opened) towards the centre to make one half of a diamond.
Repeat with the other outer edge to complete the diamond. Now repeat steps 5 through 10 on the other end of the paper.
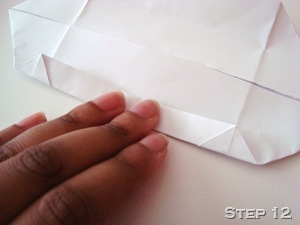
Now flip the paper over to the opposite side. Bring one edge towards the centre and slightly crease an inch in the centre (do not fold down completely).
Repeat on other side.
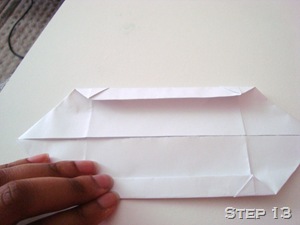
Fold the outer edge towards the crease line you just created to make a narrow strip.
Repeat on opposite side.
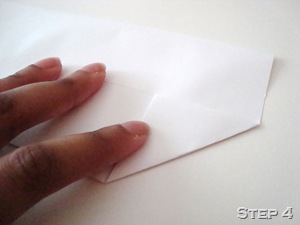
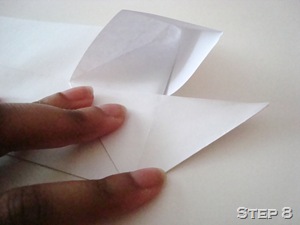
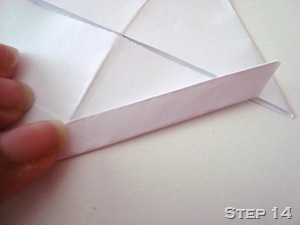
For the next few steps concentrate only on one corner. Fold the lower right-hand sloping edge inward (outer edge of triangle) on a crease parallel to itself. The bottom end of the parallel crease should line up with the vertical crease going perpendicular.
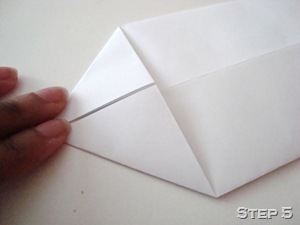
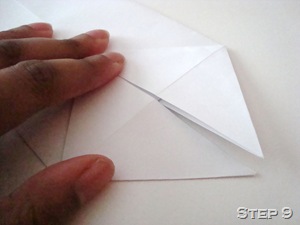
Fold the up corner of the paper (centre part of triangle) towards the left overlapping the adjacent point. The extended tip should now align with the outer edge.
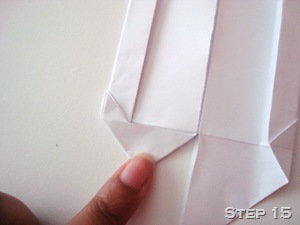
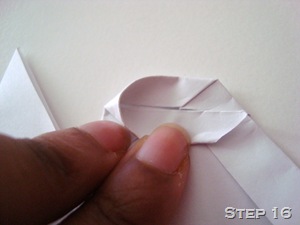
Hold down the larger triangle section with one hand and use the other to fold the narrow strip back on itself so that it lies along side the lower part of the strip. (Another way to think about it would be to fold the top part of the overlapping triangle edge you just created backwards so it aligns beside itself).
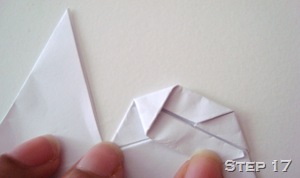
Press down the top tip creating a small triangle.
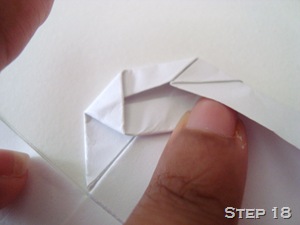
Tuck the bottom tip underneath the narrow strip you made on the outer edge. Repeat steps 14 – 18 on the other corners.
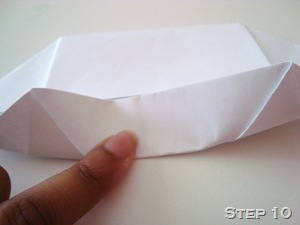
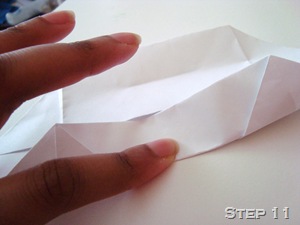
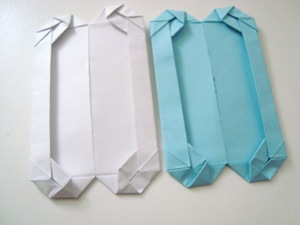
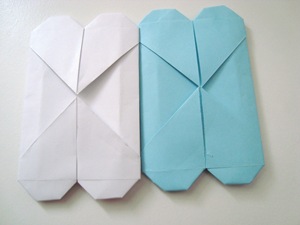
Repeat all steps above on the extra square paper. This is how they both should look from the back.
This is how they both will look front facing up.
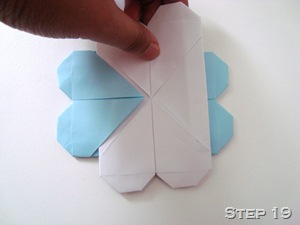
Inlay one paper underneath the other by using the bottom tip of the heart as the overlap to keep other paper in place.
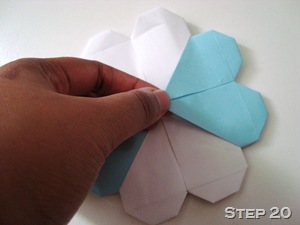
Overlap the other heart bottom tip to complete!
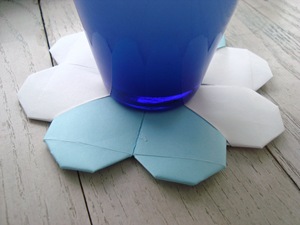
VOILA!


Comments
Post a Comment